
How to Move a Light Switch: A Step-by-Step Guide for Homeowners
Moving a light switch can seem daunting, but with the right approach, it is a manageable DIY project. To successfully relocate a light switch, one must begin by turning off the power at the circuit breaker to ensure safety during the process. Understanding the basic steps involved will not only help in making the move but also in ensuring functionality and compliance with electrical codes.
Many homeowners find that relocating a switch enhances the flow of their living space. Whether it’s for aesthetic purposes or practical needs, knowing the tools and techniques essential for this task is beneficial. By following a clear plan, anyone can achieve a professional-looking result.
While this project may require basic electrical knowledge, the rewards can significantly improve one’s home environment. With careful preparation and attention to safety, moving a light switch can become a satisfying enhancement to any room.
Assessing the Need for Relocation
Before moving a light switch, it is essential to evaluate the reasons for relocation and ensure the change is practical and safe. Key factors include safety considerations and the determination of an effective placement for the new switch.
Safety Considerations
Safety is paramount when relocating a light switch. This involves ensuring that electrical codes and regulations are met. Before beginning, one should turn off the power at the circuit breaker to avoid electrical shocks.
Using a voltage tester is crucial to confirm that no current is present. Proper grounding is also important. The new location must not pose risks related to accessibility, lest it becomes a safety hazard during emergencies.
Additionally, consider the switch’s proximity to water sources, like sinks or showers. Codes typically prohibit switches near wet areas to minimize electrocution risk.
Determining New Placement
Choosing the right spot for the relocated switch involves strategic planning. Factors to consider include accessibility, routine usage, and the layout of the room.
The new switch should be easily reachable without obstruction. A common height for light switches is between 34 to 48 inches above the floor, ensuring comfort for most users.
It’s also vital to avoid placing switches near doorways where they could be accidentally activated. Consider lighting needs as well; ensure the switch controls the intended fixture or outlet effectively.
Lastly, evaluating the aesthetics of the room can guide decisions, ensuring that the switch enhances functionality without compromising design.
Preparing for the Move
Before relocating a light switch, it is crucial to prepare adequately. This preparation involves gathering necessary tools and materials, ensuring safety by turning off the power and removing wall plates for easier access. Each of these steps is essential for a smooth and safe transition.
Tools and Materials
To start, gather the following tools and materials needed for moving a light switch:
- Screwdriver: A flathead or Phillips screwdriver will be required to remove the switch and wall plates.
- Wire Strippers: These are necessary for handling and reattaching wires properly.
- Fish Tape: For pulling wires through the wall to the new switch location.
- Voltage Tester: This tool ensures that the power is off before any work begins.
- Electrical Tape: Used to secure wires and provide insulation.
Having all tools within reach will streamline the process. Ensure that the workspace is well-lit and protected from dust and debris.
Turning Off Power
Turning off the power supply is a critical safety measure. Locate the circuit breaker associated with the light switch and turn it off. It is advisable to label the breaker to avoid confusion later.
Before starting work, test the switch using a voltage tester. This will confirm the power is indeed off. Consider using a backup light source, such as a flashlight, to illuminate the workspace during the project.
Removing Wall Plates
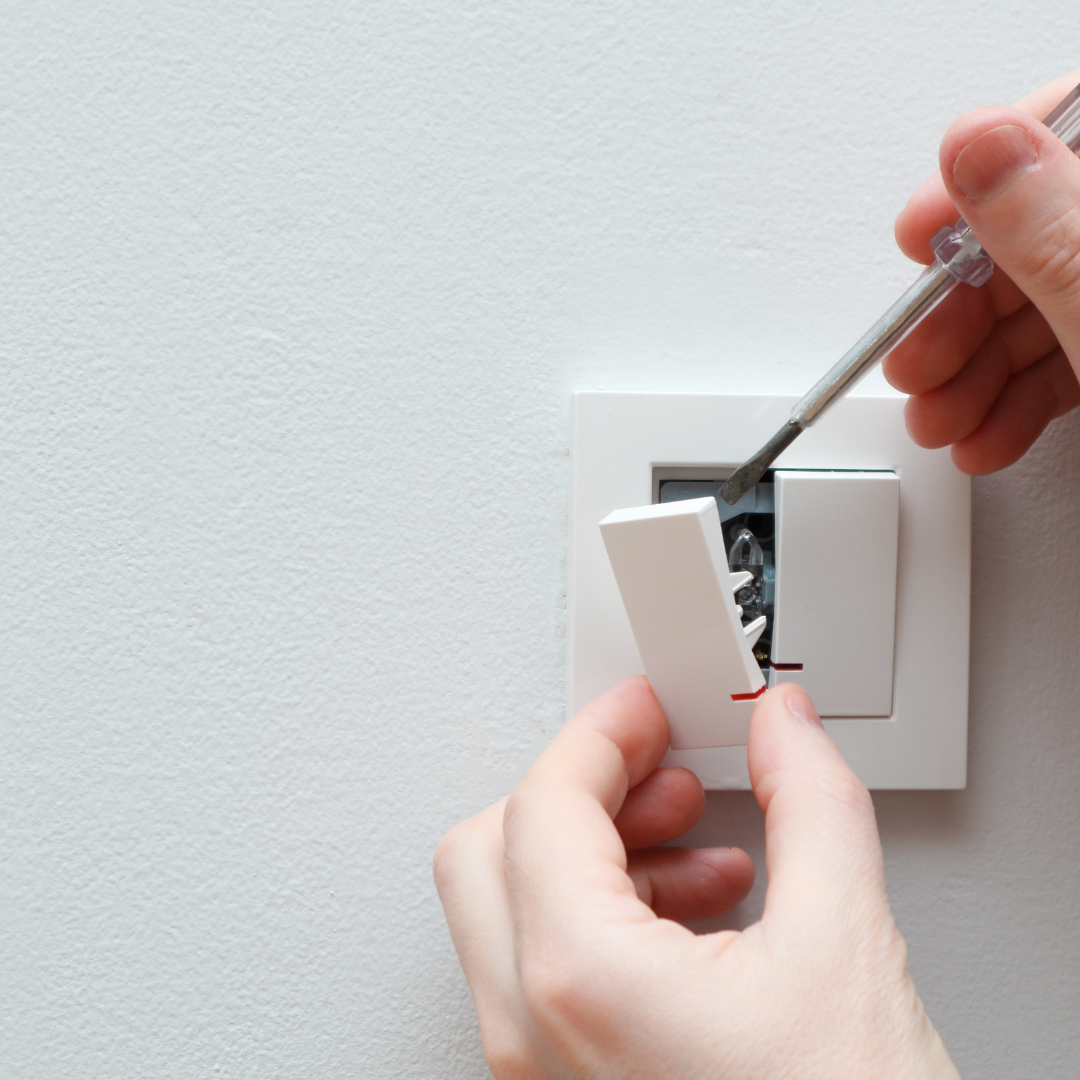
To access the light switch, the wall plate must be removed first. Begin by unscrewing the screws from the wall plate, ensuring not to damage it for reuse.
Once the wall plate is off, the switch will be exposed. Unscrew the switch mounting screws, carefully noting the configuration of the wires connected to it. Taking a picture can help during reinstallation. Gently pull the switch from the box, freeing the wires for relocation.
This step sets the stage for moving the switch to a new location effectively. Proper caution should be taken to avoid damaging any wires or the switch itself.
Mapping the Electrical Path
Identifying the electrical path is essential for safely moving a light switch. It involves tracing existing wires and determining the wall structure to ensure a smooth and effective relocation.
Tracing Wires
Start by locating the current light switch and any connected fixtures. Turn off the power supply at the circuit breaker to prevent electrical shock. Remove the switch plate and unscrew the switch itself to reveal the wiring.
Use a multimeter to confirm that the wires are dead. Document the wire colors and connections. Typically, there will be a hot wire (black or red), a neutral wire (white), and a ground wire (bare or green). Label each wire with tape for easy reference later.
If the switch is part of a series, map out all connections back to the power source. This will aid in understanding how the switch interacts with other switches or fixtures in the circuit.
Working with complex circuits can be difficult and carries safety risks. If the wiring looks messy or confusing, it is best to stop and contact a professional. A licensed technician from companies like Smartchoice HVAC & Electrical have the tools to trace these lines safely. They can identify the hot and neutral wires without putting your home at risk. This helps you avoid mistakes that might cause short circuits or electrical fires later.
Determining Wall Structure
Assessing the wall structure is crucial for running new wiring. Determine if the walls are made of drywall, plaster, or another material. This affects how to safely cut openings and install new switches.
Use a stud finder to locate studs and any hidden obstructions, like plumbing or ductwork. Mark these on the wall. Understanding the layout will help in choosing the correct placement for the new switch.
Also, consider insulation and vapor barriers that may be present. Avoid cutting through these materials unnecessarily, as they provide energy efficiency and moisture control. Proper planning ensures not only compliance with codes but also a clean installation.
Working behind finished walls requires a lot of care to avoid making unnecessary mess. If you find that the wall structure is too complex or you are worried about damaging the vapor barrier, it is often best to get professional help. Hiring an experienced All Star Walls drywall contractor can save you time and prevent costly mistakes during this phase. These professionals have the right tools to locate studs and handle insulation without ruining your home’s energy efficiency. They can also make sure that any cuts made in the wall are clean and easy to patch later.
Installing the New Box Location
Relocating a light switch involves careful planning and execution, especially when it comes to installing the new electrical box. This section will cover the key tasks of cutting the wall and mounting the new box.
Cutting the Wall
To start, the new location for the electrical box must be identified. Measuring for the new position is essential to ensure it is at a comfortable height, typically between 42 inches and 48 inches from the floor. Once the placement is marked, a drywall saw is used to cut an opening.
Before cutting, it is vital to check for any hidden wires or plumbing. Locating these obstacles can prevent damage and potential hazards. Once the area is clear, cutting with steady, controlled movements ensures clean edges for a professional appearance.
After cutting, rough edges may be present. Using a utility knife can help smooth them out, preventing injury or snagging during the installation of the box. A dust mask and safety goggles are recommended to protect against debris.
Mounting the New Box
With the opening prepared, the new electrical box can be positioned. The box should fit snugly within the hole, providing enough space for securing screws. If using a plastic box, it may be attached directly to the wall, while metal boxes often require a brace to hold them in place.
Position the box so that it sits flush with the drywall surface. This ensures that the switch installs correctly and looks neat. Once positioned, the box can be secured using screws or clamps as specified by the manufacturer.
After securing the box, double-check for level alignment. A level tool can confirm that the box is straight. Making any necessary adjustments at this stage will save time during the electrical connections.
Rerouting Electrical Wires
Rerouting electrical wires involves careful planning and execution to ensure safety and functionality. This process includes both extending existing wires and properly connecting them to the new switch location.
Extending Wires
To extend wires, the electrician should first determine the distance required to reach the new switch location. Using a length of wire that matches the gauge of the existing wire is crucial.
- Types of Wire: Common residential wire types include NM (non-metallic) and THHN (thermoplastic high heat-resistant nylon-coated).
- Wire Connectors: Utilize wire connectors, such as twist-on wire nuts, to securely join the new and old wires.
Before connecting, it’s essential to turn off the circuit breaker. This prevents any chance of electric shock. The connection should be wrapped with electrical tape for additional insulation.
Connecting Wires to Switch
Connecting wires to a switch requires attention to detail to ensure proper functionality. Each switch has specific terminals for wiring, typically labeled “Line” and “Load.”
- Identifying Wires: The black wire typically connects to the “Line” terminal, while the white wire connects to the “Load” terminal.
- Securing Connections: Tighten connections using a screwdriver, ensuring no exposed wire is visible.
Once connected, the switch should be mounted back into the electrical box. It’s important to conduct a final check before restoring power to the circuit breaker. Testing the switch operation ensures it functions correctly.
Finishing the Installation
After ensuring that the wiring is correctly connected, the next steps involve securing the light switch, restoring power, and testing functionality. Each of these tasks is critical for a safe and effective installation.
Securing the Switch
Once the wires are connected, the switch needs to be secured in its new location. Carefully tuck the wires back into the wall box, making sure not to pinch them. The switch should align with the box without gaps.
Using the provided screws, fasten the switch to the electrical box. Ensure that the screws are snug but not overly tight, as this can crack the switch casing.
Double-check that the switch is level before closing the cover plate. A level switch will not only look better but also function more reliably.
Restoring Power
Before restoring power, it is essential to double-check all connections. Once verified, return to the circuit breaker and turn the power back on.
Observe the circuit breaker; if it remains intact, proceed to the switch. It is advisable to wait a few seconds after restoring power to ensure everything stabilizes.
If any issues arise, such as flickering lights or tripped breakers, turn off the power immediately and revisit the wiring. This step is crucial for safety and proper operation.
Testing the Switch
Testing the switch is the final step in the installation process. With the power restored, flipping the switch should result in the intended lighting effect.
Observe the lights for any flickering, buzzing , or any other abnormalities. If the lights behave as expected, the installation is successfusoundsl.
It’s also wise to check both the “on” and “off” positions of the switch. This ensures that everything is functioning correctly and safely. If any issues persist, further troubleshooting may be necessary.
Cleanup and Wall Repair
After relocating a light switch, proper cleanup and wall repair are essential to restore the wall’s appearance and ensure safety. This process includes repairing any damaged drywall and applying finishing touches through painting.
Repairing Drywall
To repair drywall, start by assessing any holes or damage caused by the switch relocation. Small holes can be filled with joint compounds using a putty knife. For larger holes, it may be necessary to use a patch or cut a piece of drywall to fit the space.
Once the patch is in place, apply joint compound over the seams to blend it into the surrounding wall. It’s essential to feather the edges to ensure a smooth transition. Allow it to dry completely, then sand it lightly with fine-grit sandpaper until the surface is flush.
For a flawless finish, repeat the application of joint compound if needed. Cleaning up the area will prevent dust and debris from contaminating the work surface.
Painting and Finishing
After the drywall repair has dried and been sanded, it’s time to paint. Start by applying a primer to the repaired area, especially if the old paint is darker or the surface is uneven. This step ensures better adhesion of the paint.
Once the primer is dry, use a paint that matches the existing wall color. Apply at least two coats for even coverage, allowing proper drying time between each coat. Using a roller can help achieve a smooth finish.
Finally, clean any tools and remove painter’s tape to leave clean lines. Inspect the area for any imperfections, and touch up as necessary to achieve a seamless look.
